Forecaddy Foot Pedal Replacement - Field Replacement
If you feel comfortable with using basic hand tools and have 30 minutes to complete the repair, we have created a guide to assist you in the replacement of the Forecaddy foot pedal. If you do not feel comfortable please contact support@foresightsports.com .
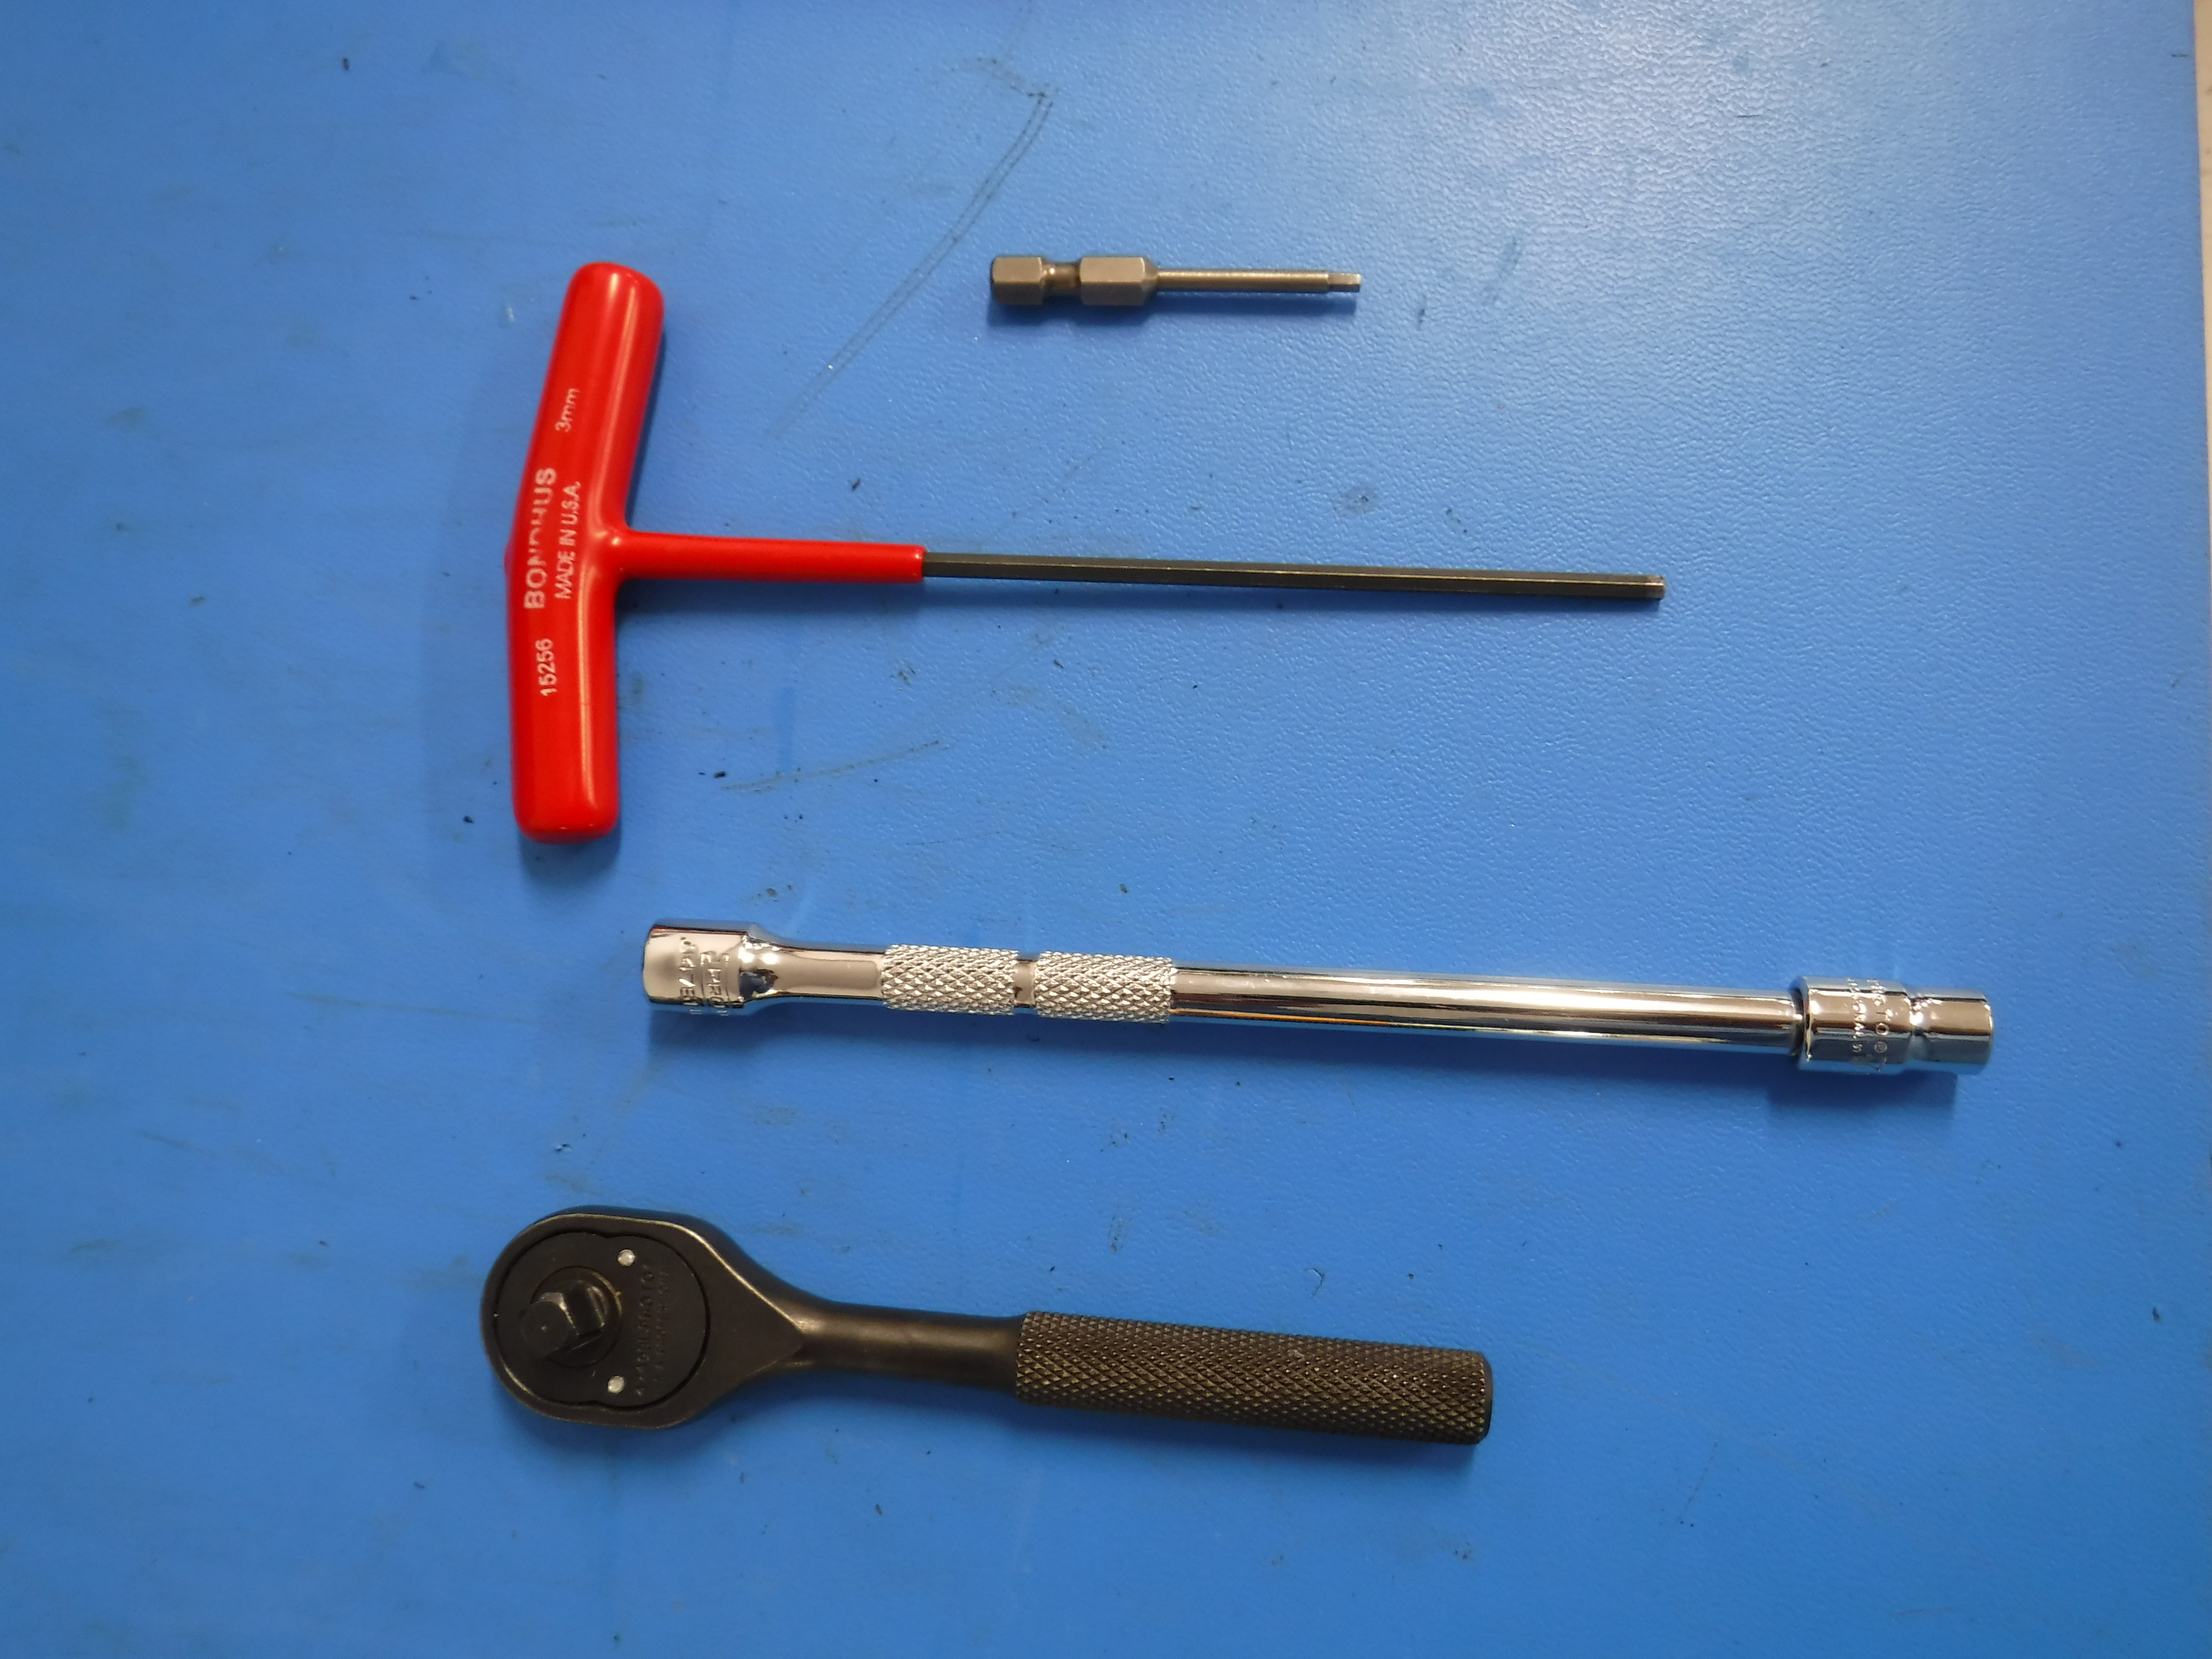
Tools Required
- 2.5 MM Hex Key Wrench
- 3.0 MM Hex Key Wrench
- 7 MM Socket or 7 MM open-ended wrench
- 1/4 Socket Driver with extension
- Safety Glasses
Removal of Foot Pedal Assembly
Locate the (4) protective covers and pry them off with a knife or similar tool to uncover the screws underneath.
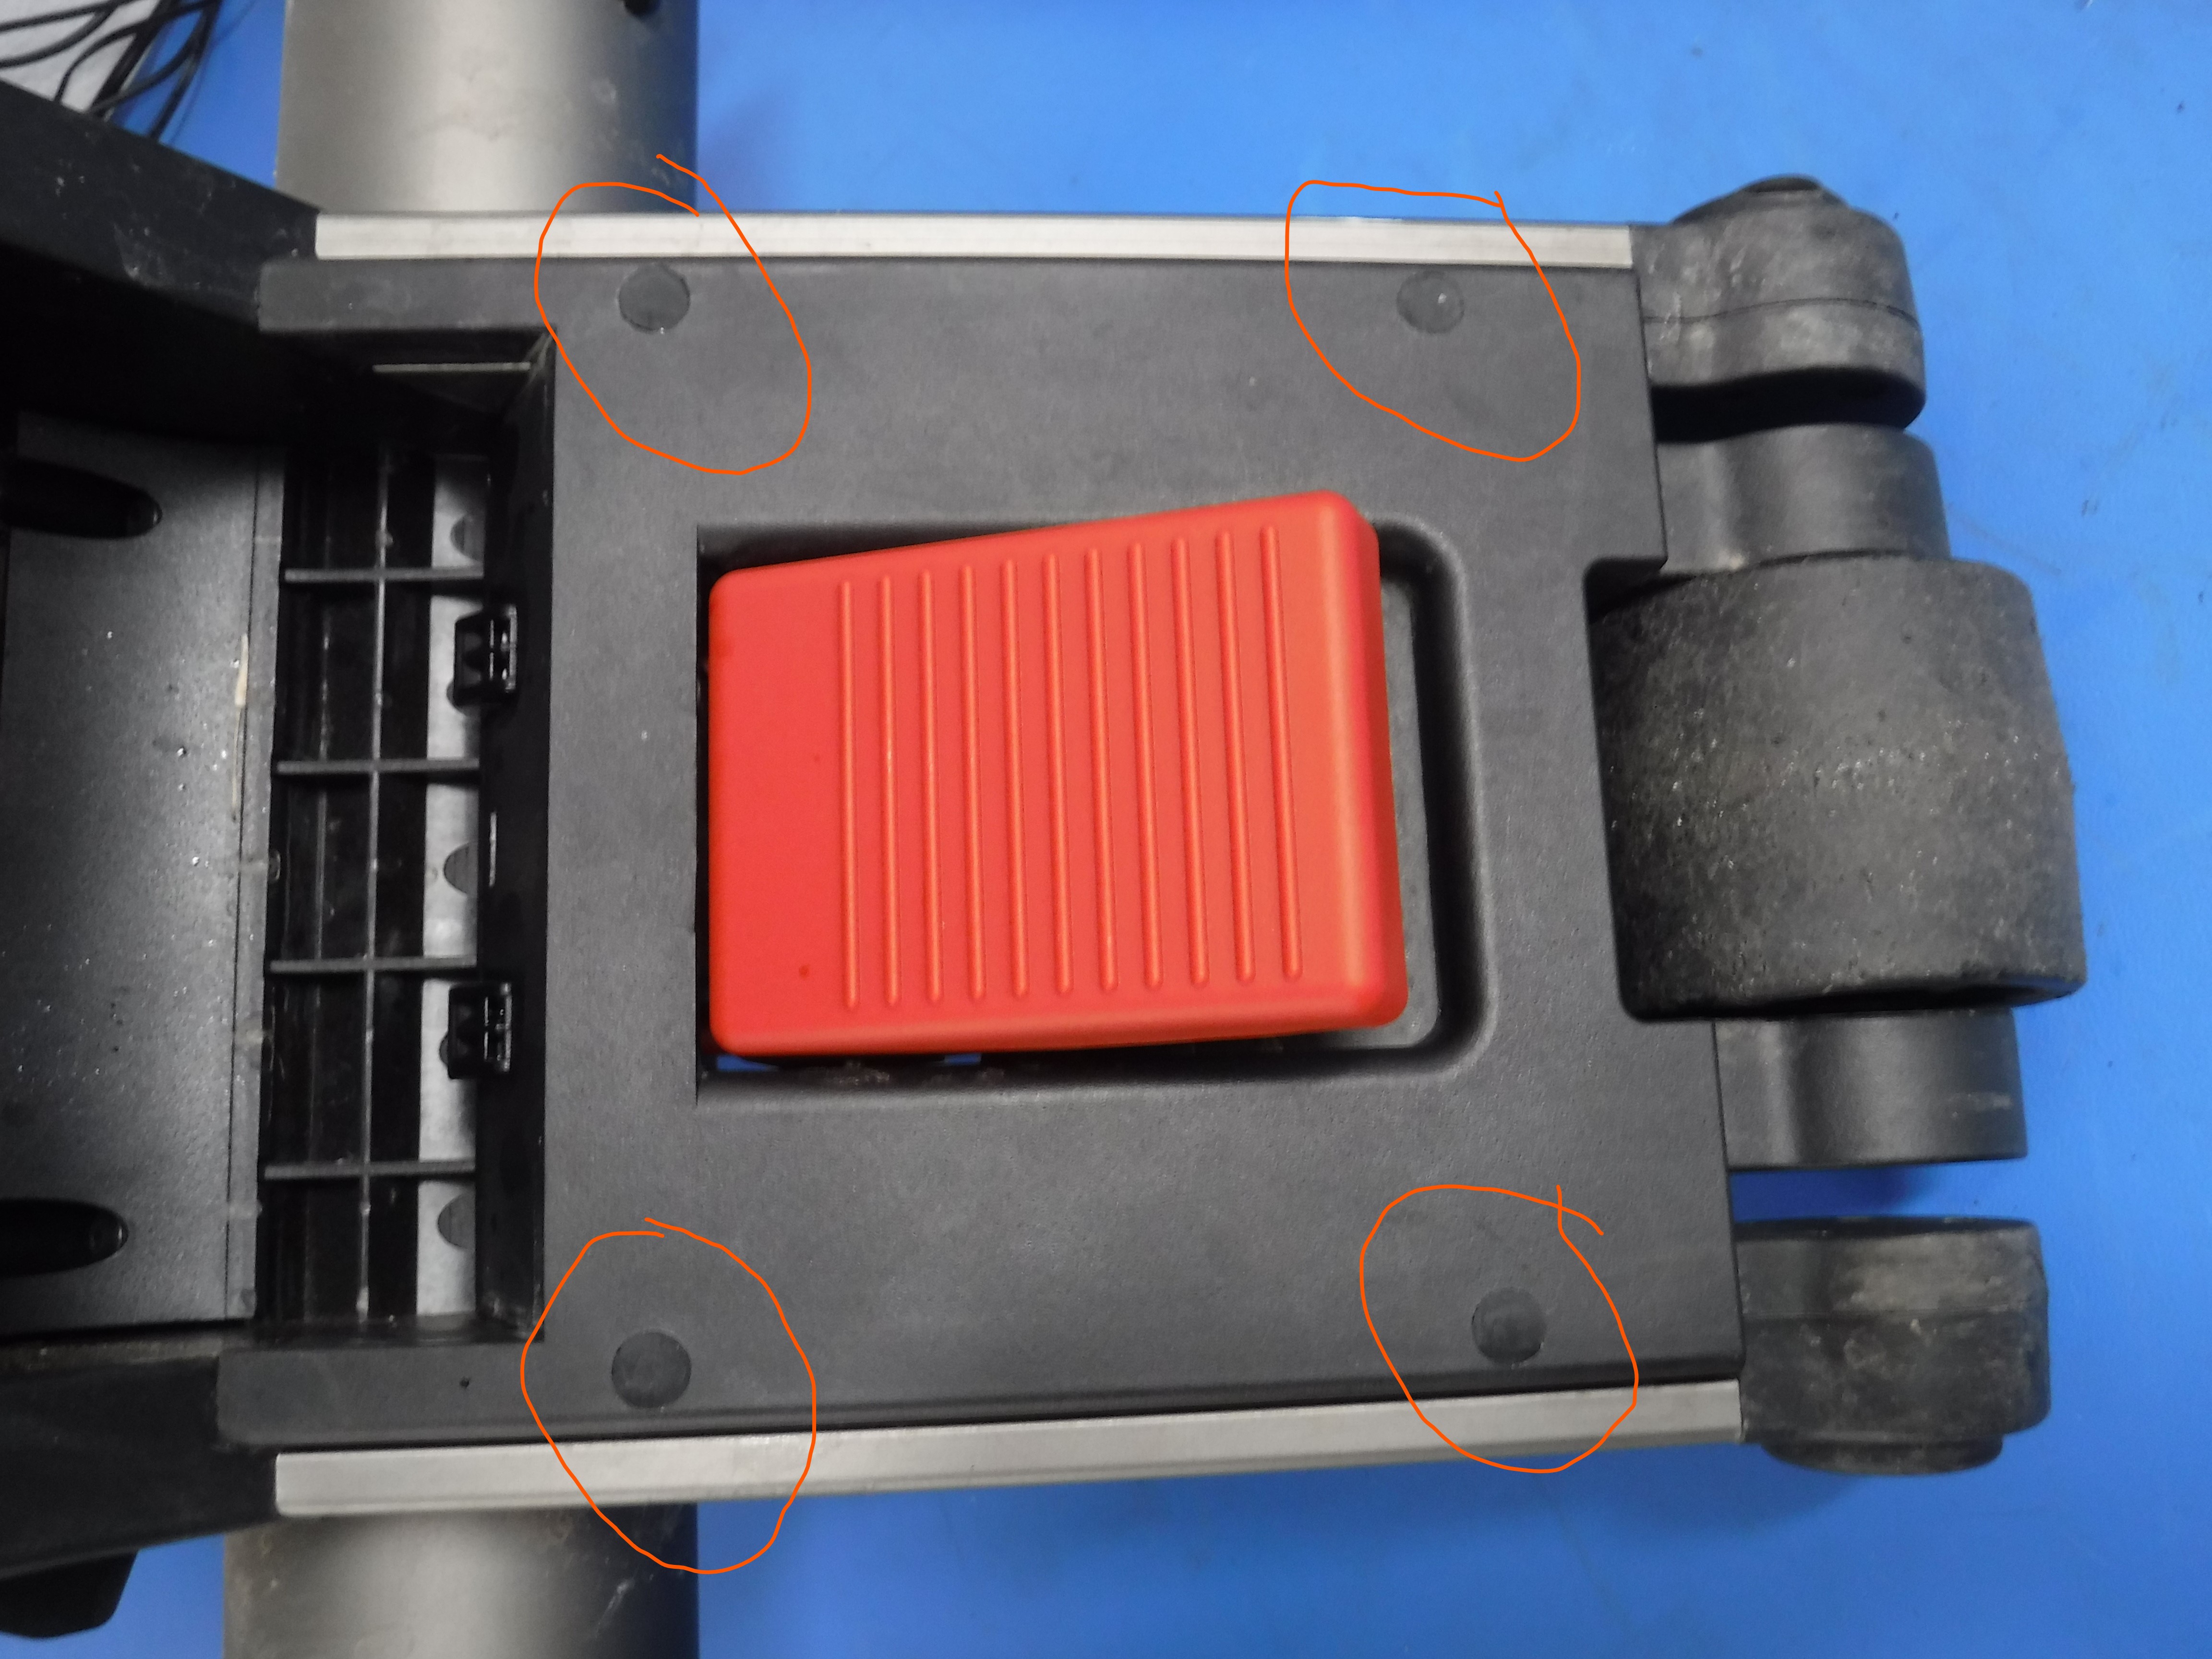
Once the covers have been removed you will now have access to the top of the 3 MM hex key bolt.
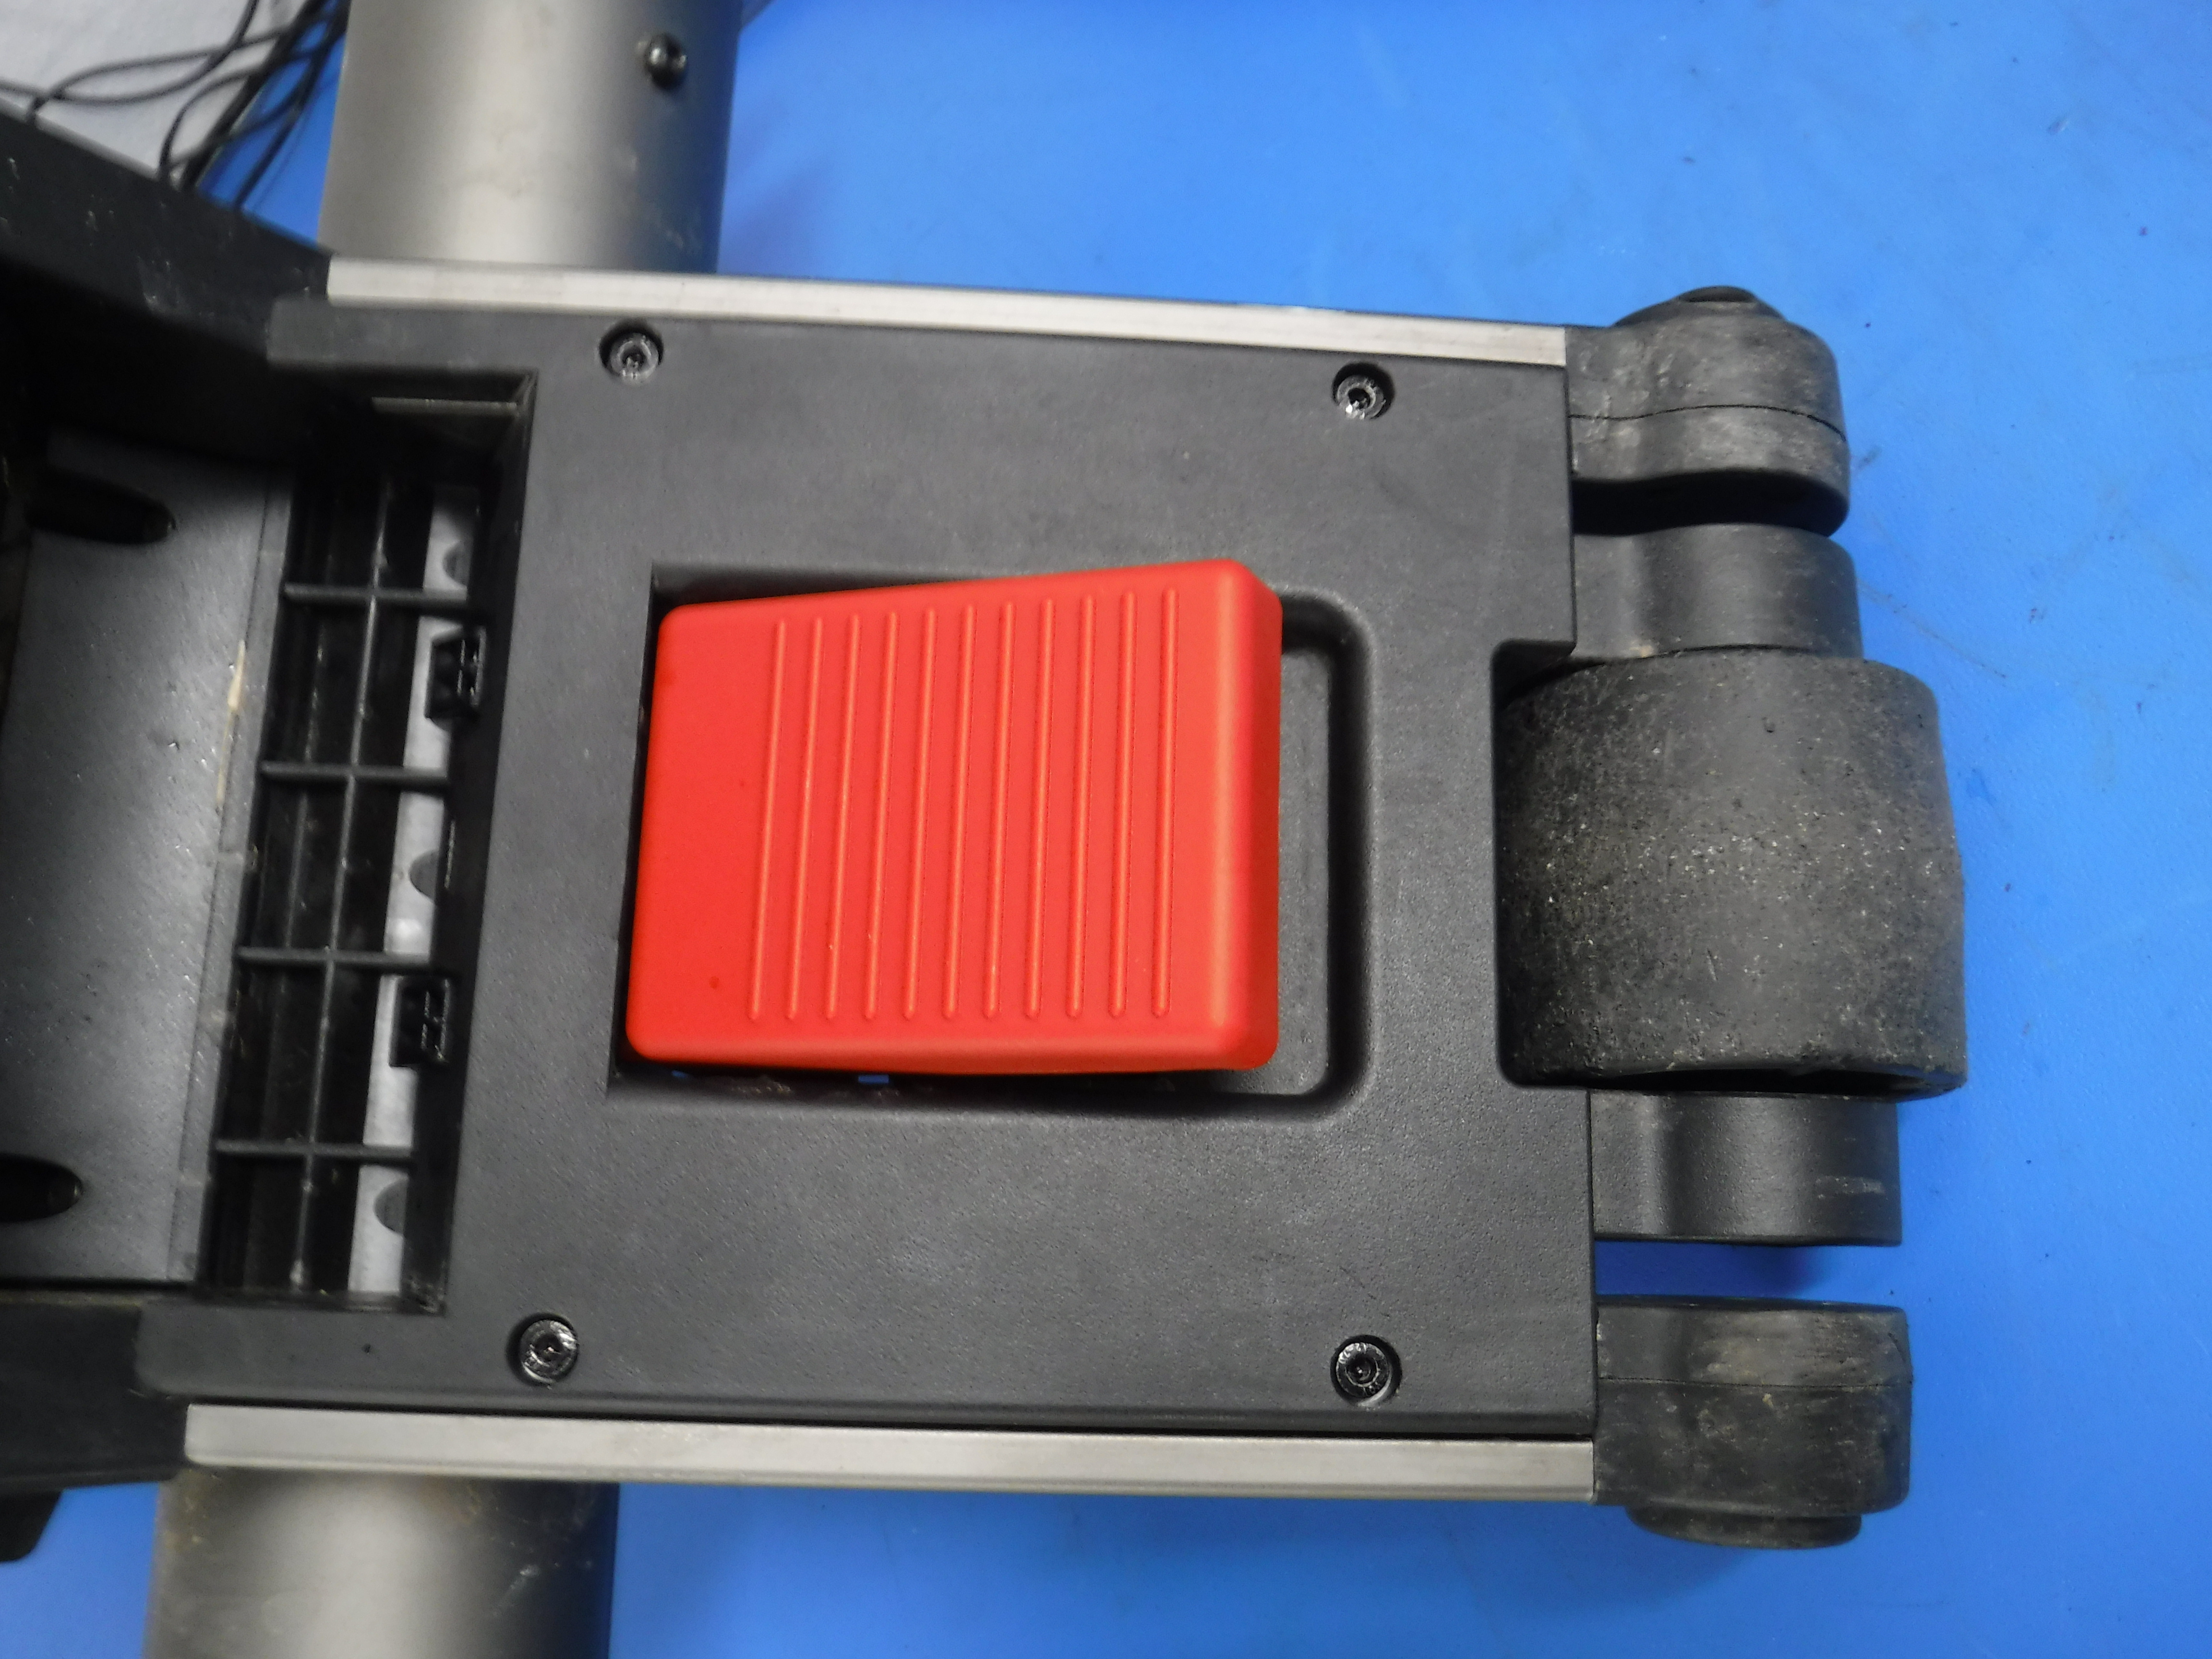
Using the 3 MM hex key tool and the 7 MM socket and driver with extension (you can also use a 7 MM open-ended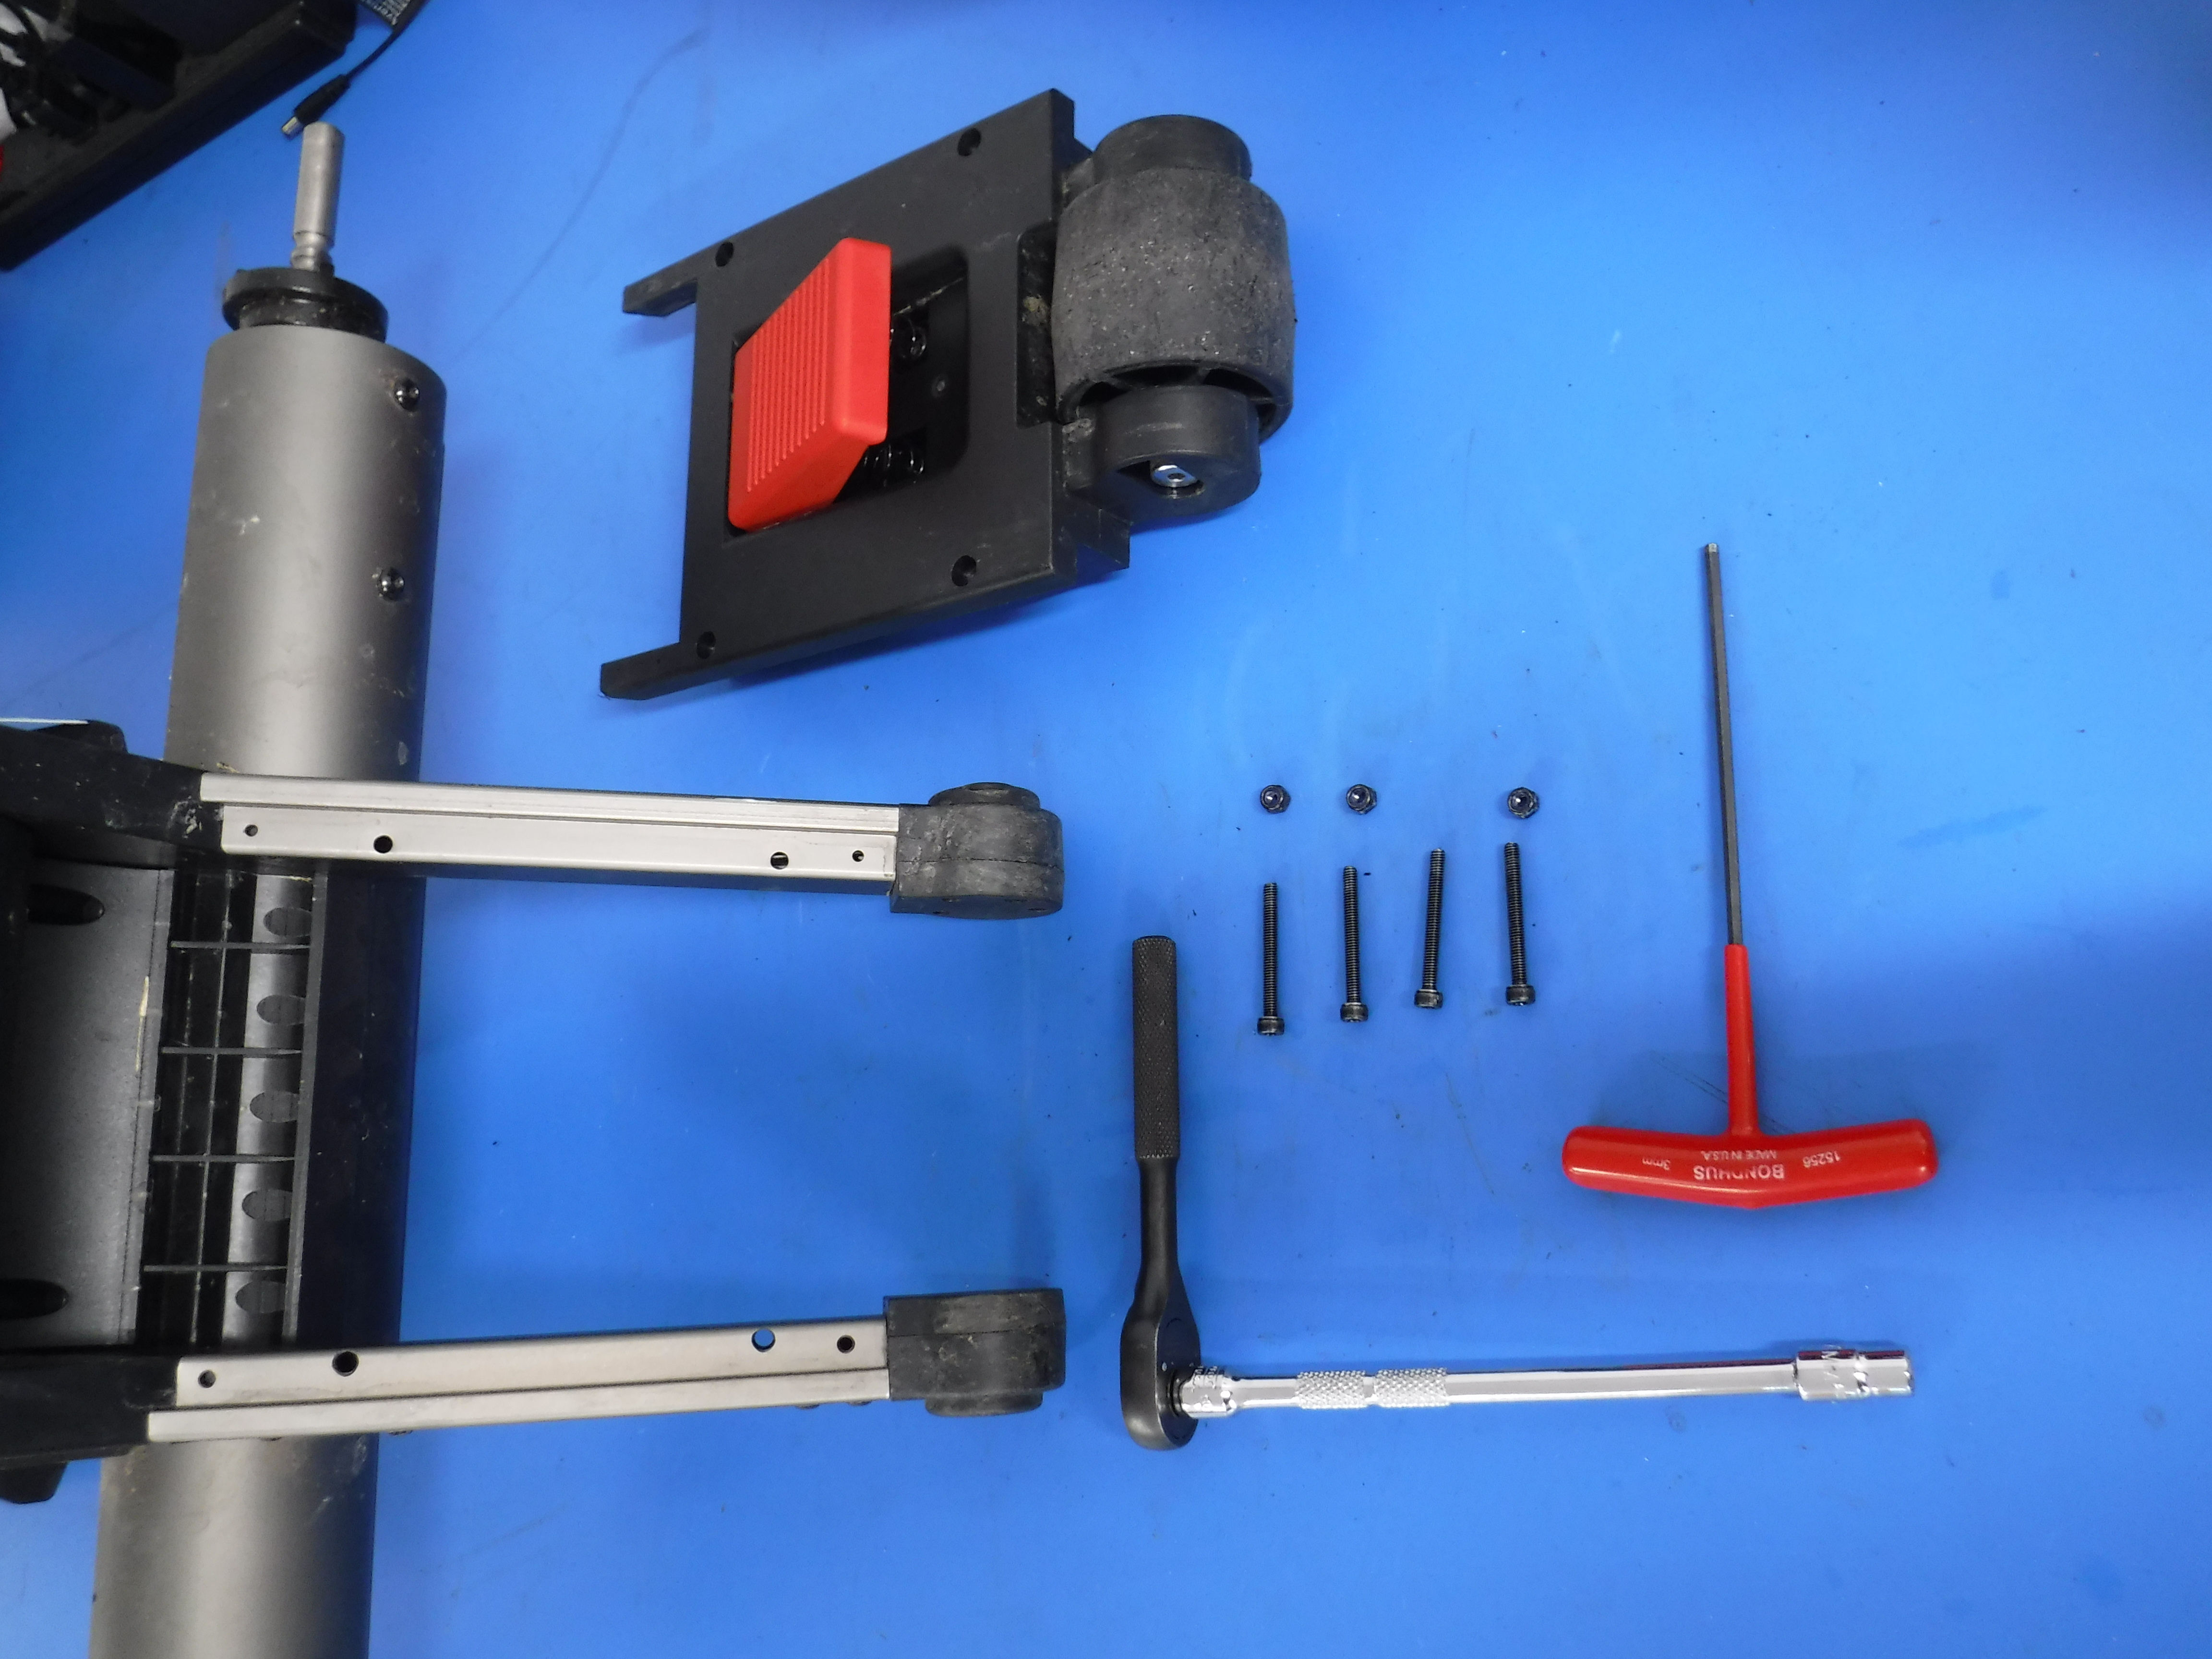 wrench) loosen and remove the 4 bolts to separate the foot pedal assembly from the Forecaddy.
With the assembly removed from the Forecaddy, take the assembly and flip it over to locate the 2.5 MM hex key screws and remove them to expose the shaft that holds the foot pedal in place.
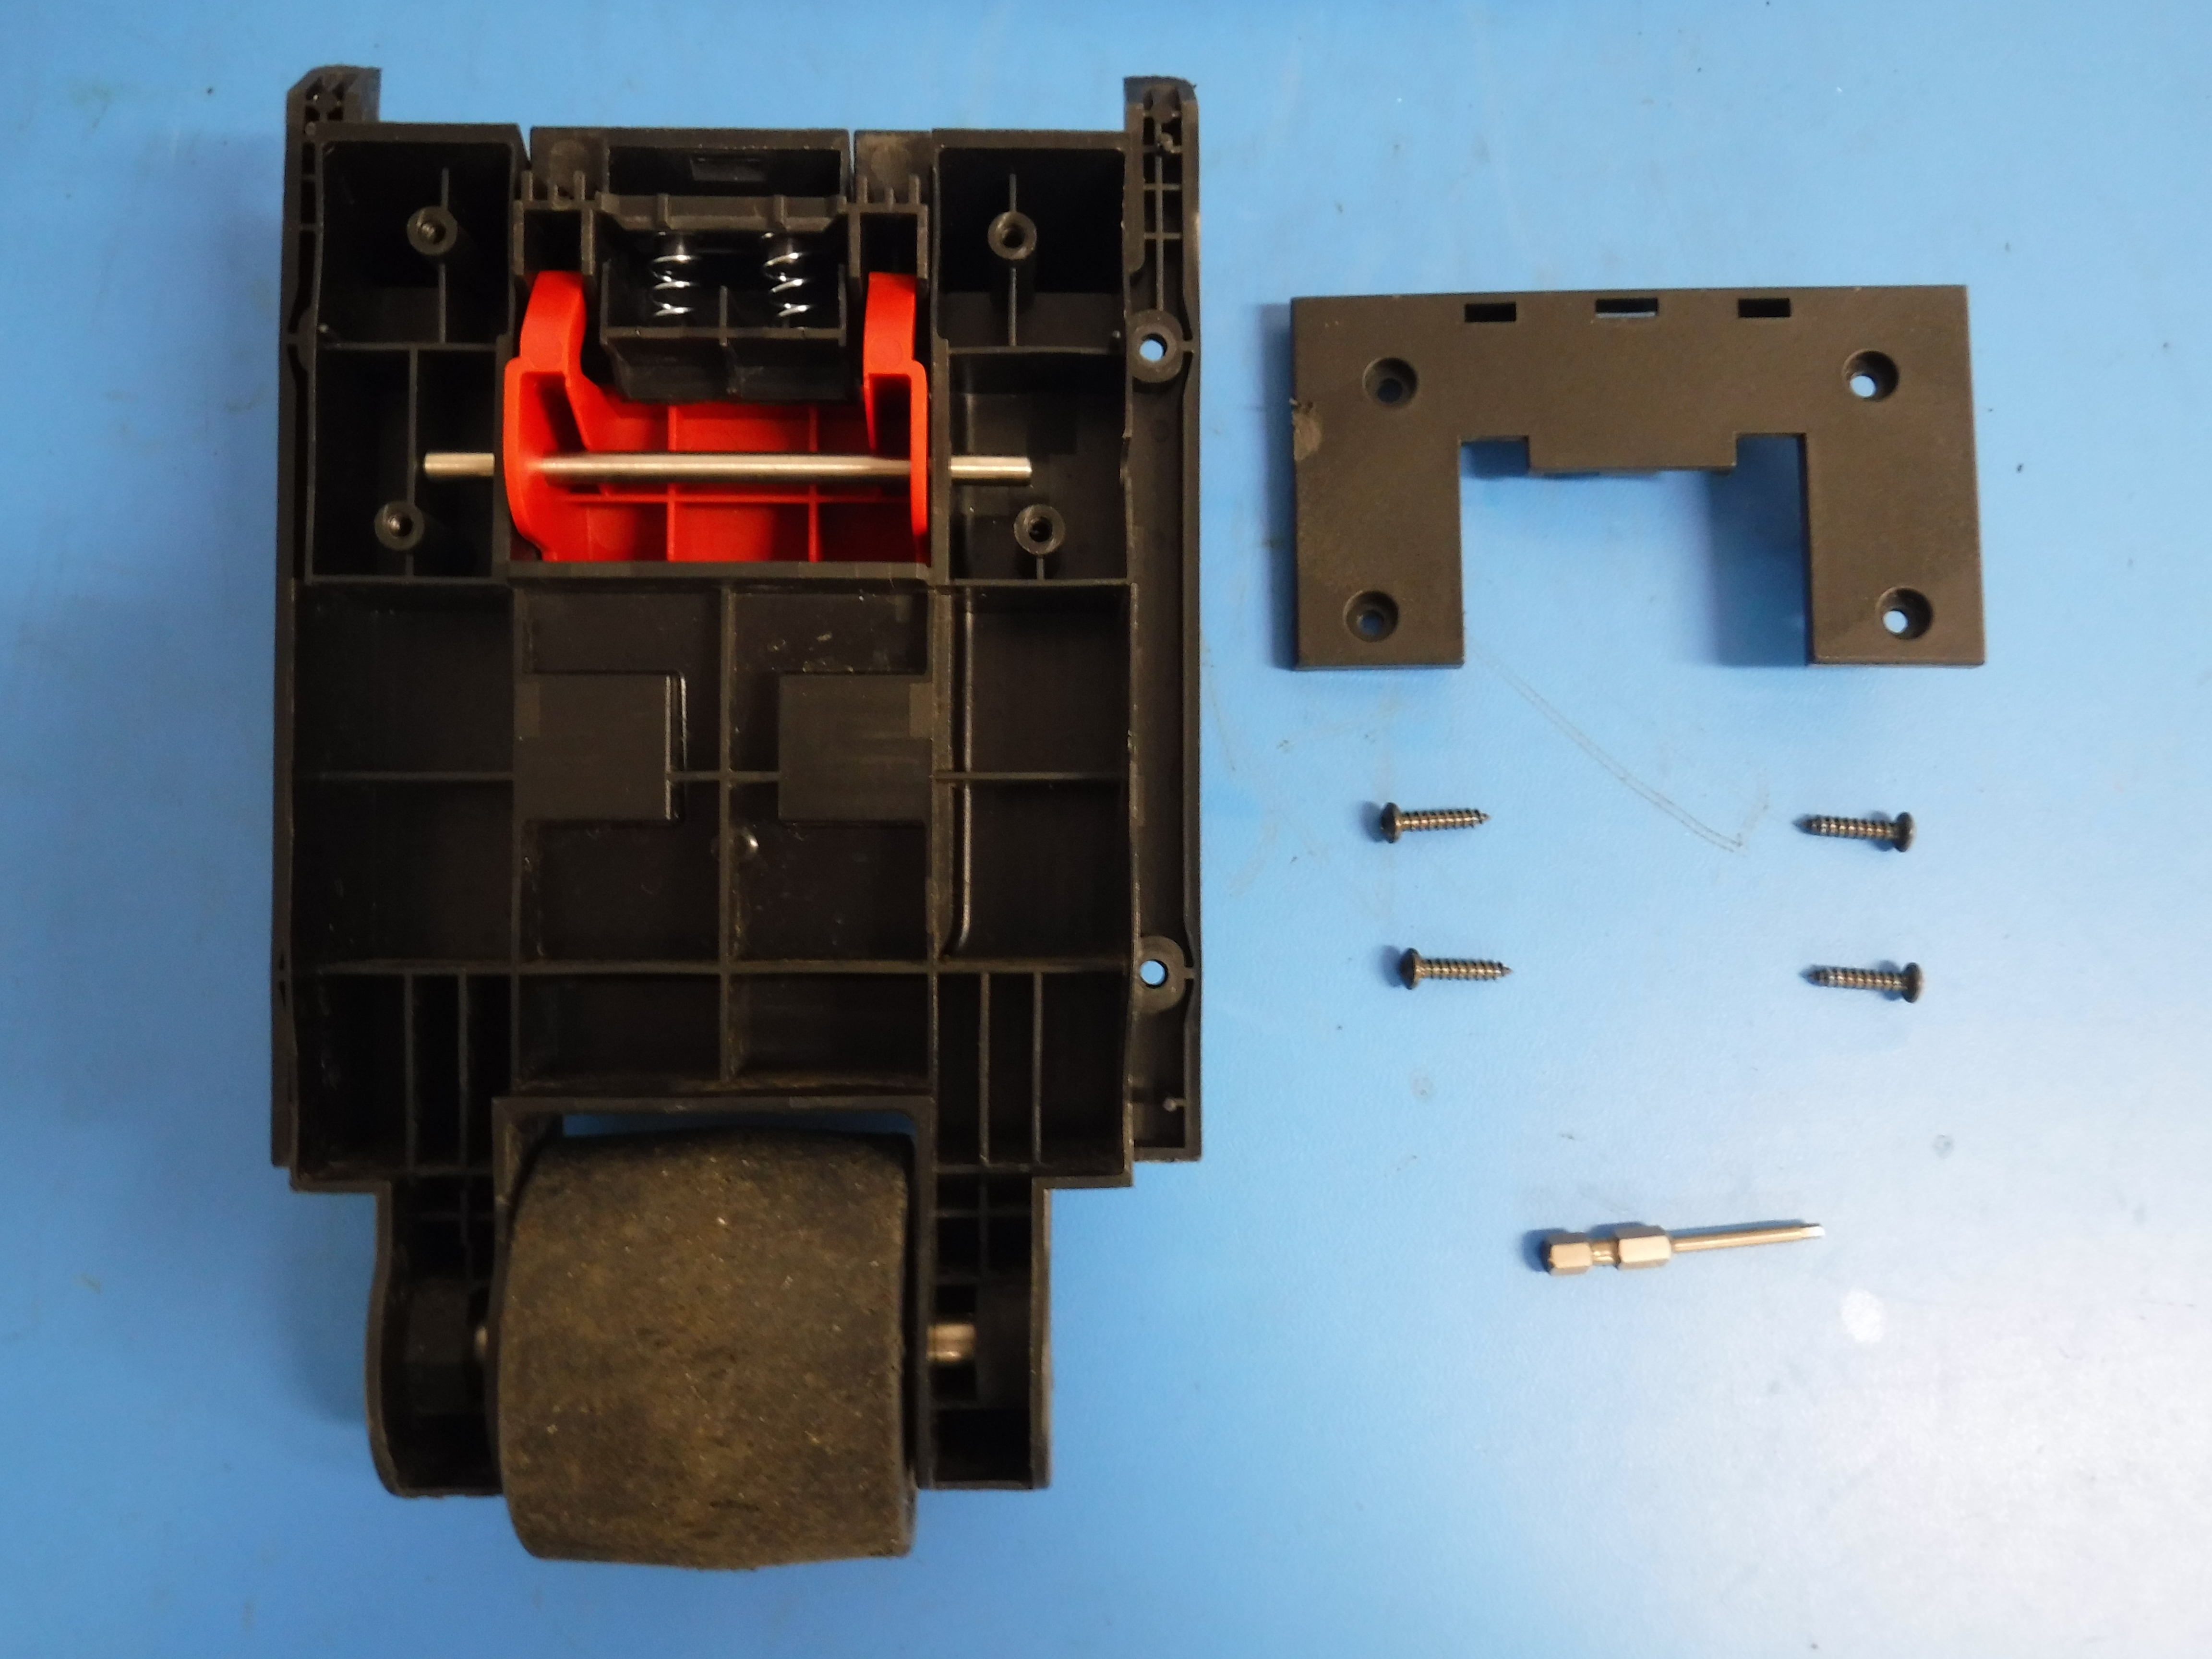
With the cover plate removed slide the shaft out to the right (based on the above orientation) and the foot pedal will come out of the top-side of the assembly. Please note that the foot pedal has two springs under the pedal to return it to an upright position. They are under pressure so please wear eye protection.
Reassembly of Foot Pedal Assembly
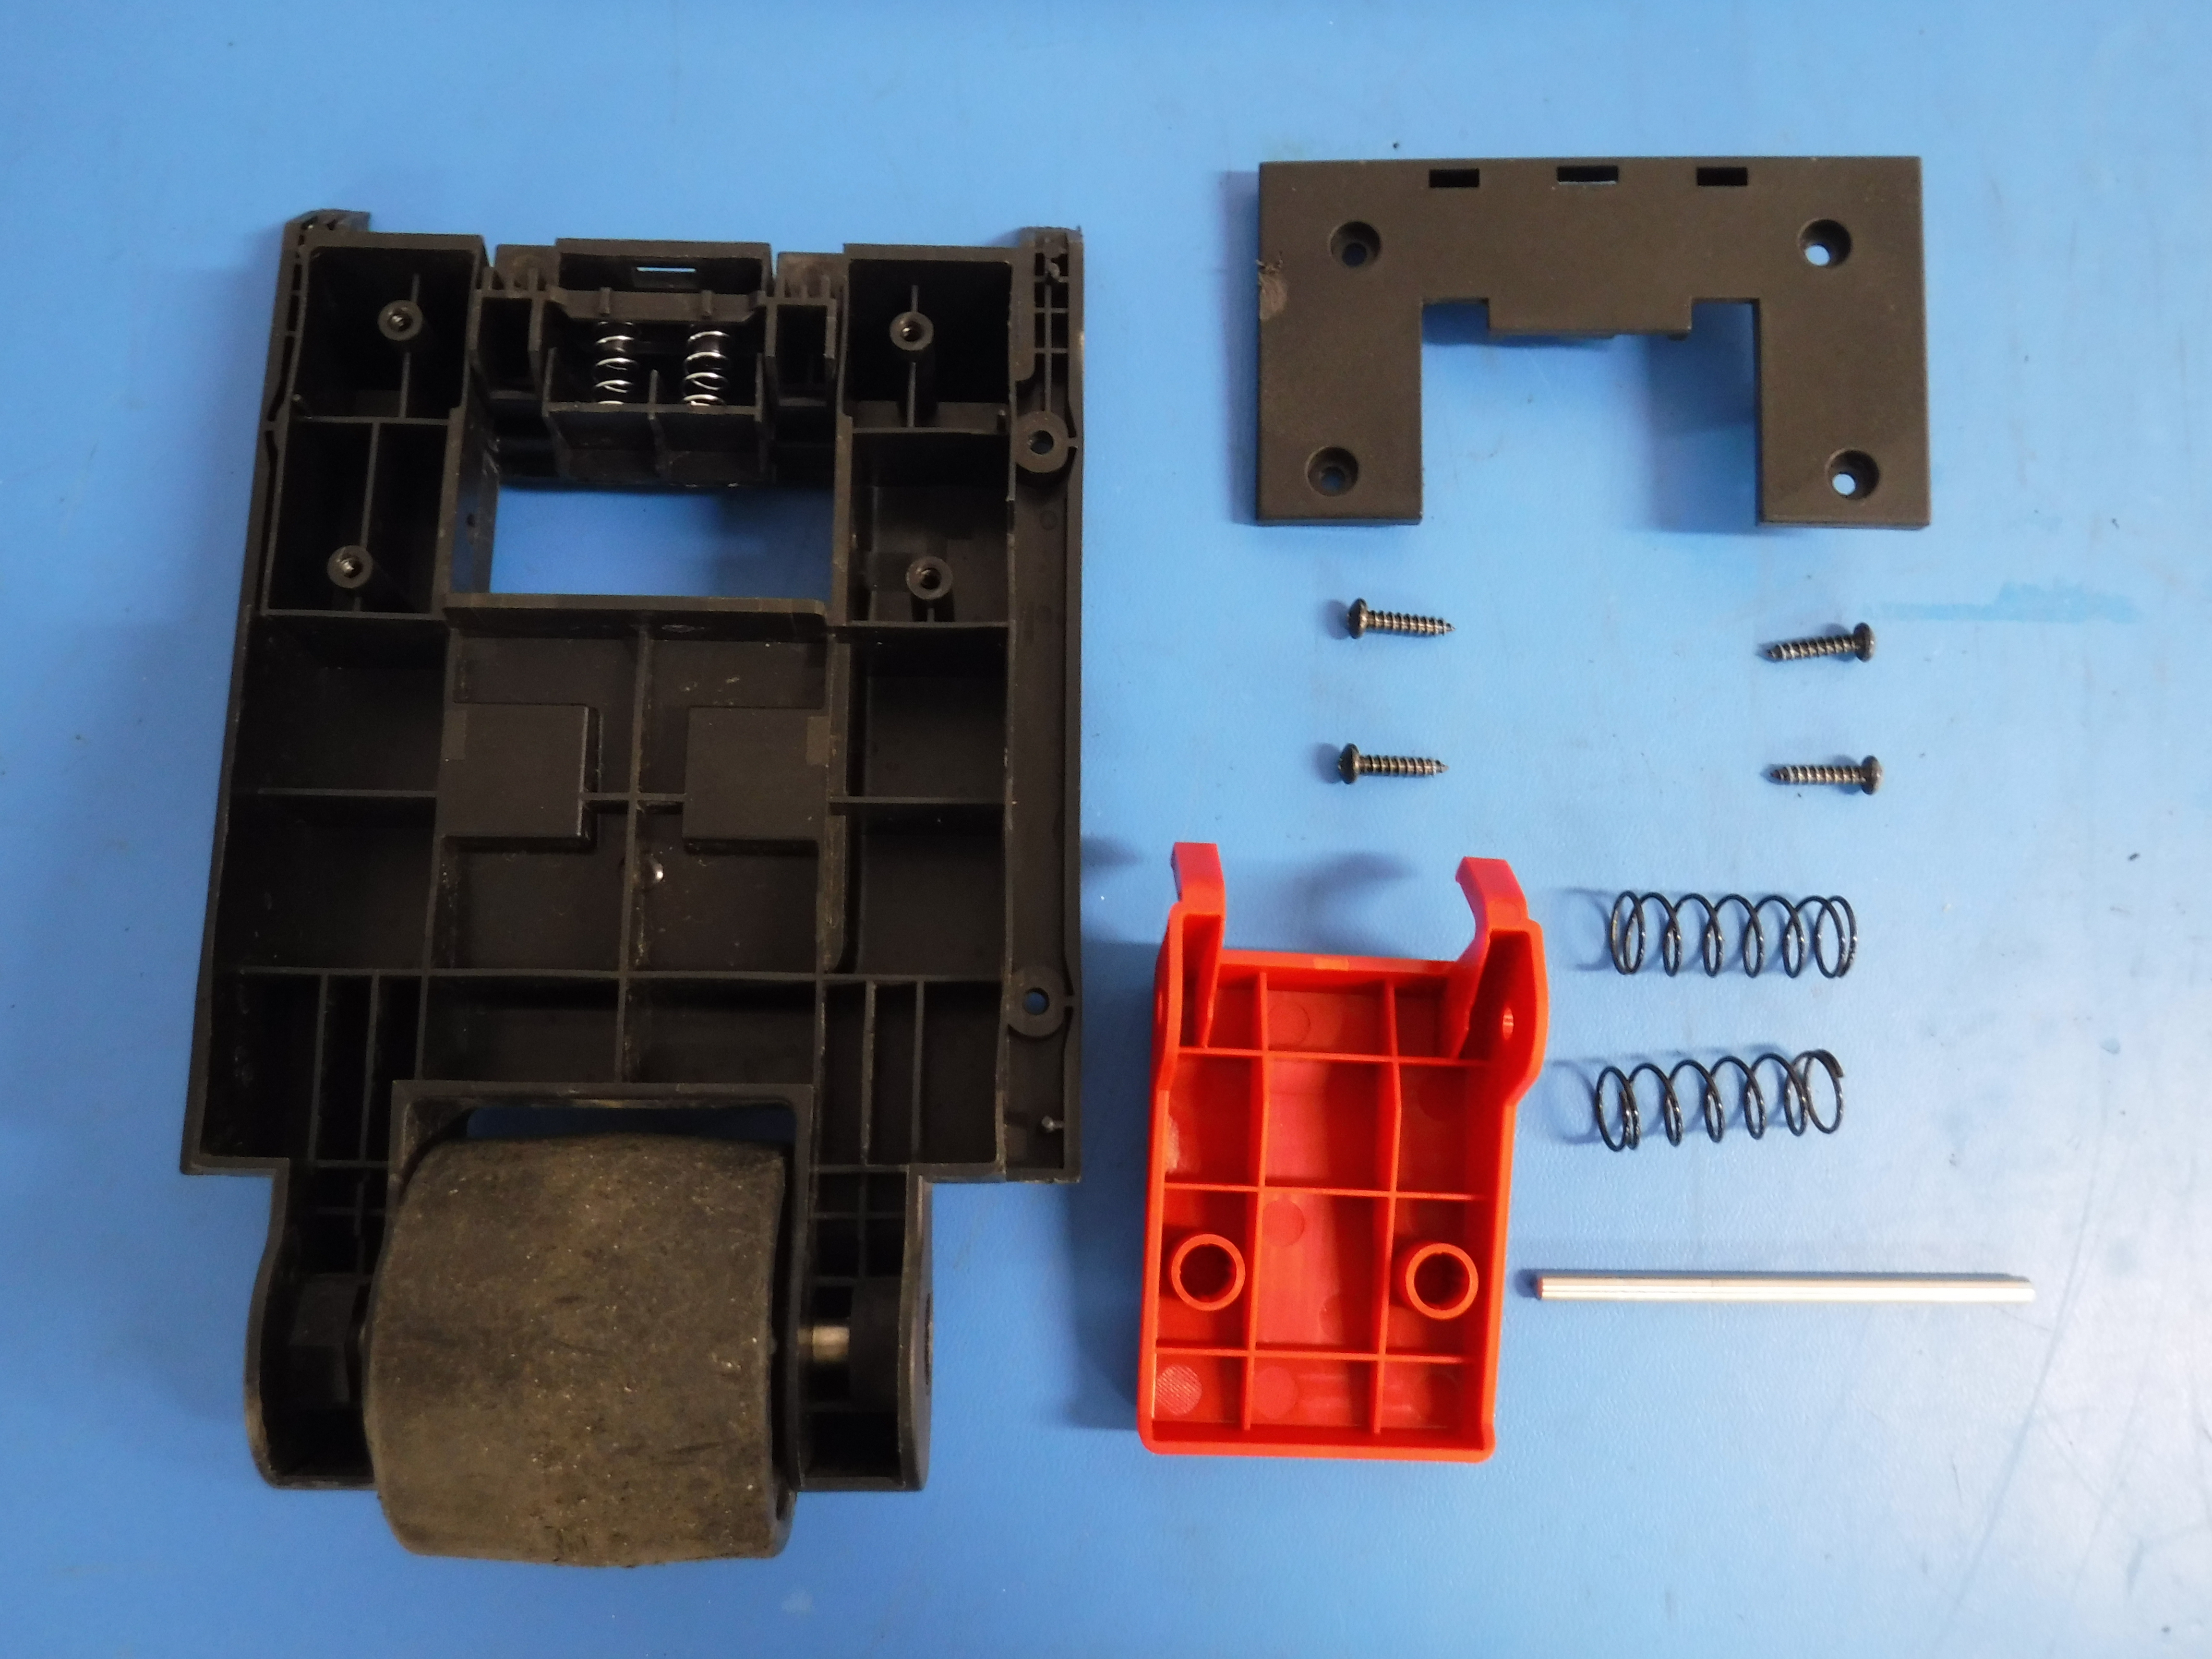
We will now reverse the process. With your new foot pedal place it back into the unit and slide the shaft in from the right side. Place the cover back on the assembly and using the 2.5 MM hex key wrench tighten the cover back to the assembly.
Now flip the assembly over and locate the springs for the next part of the process.
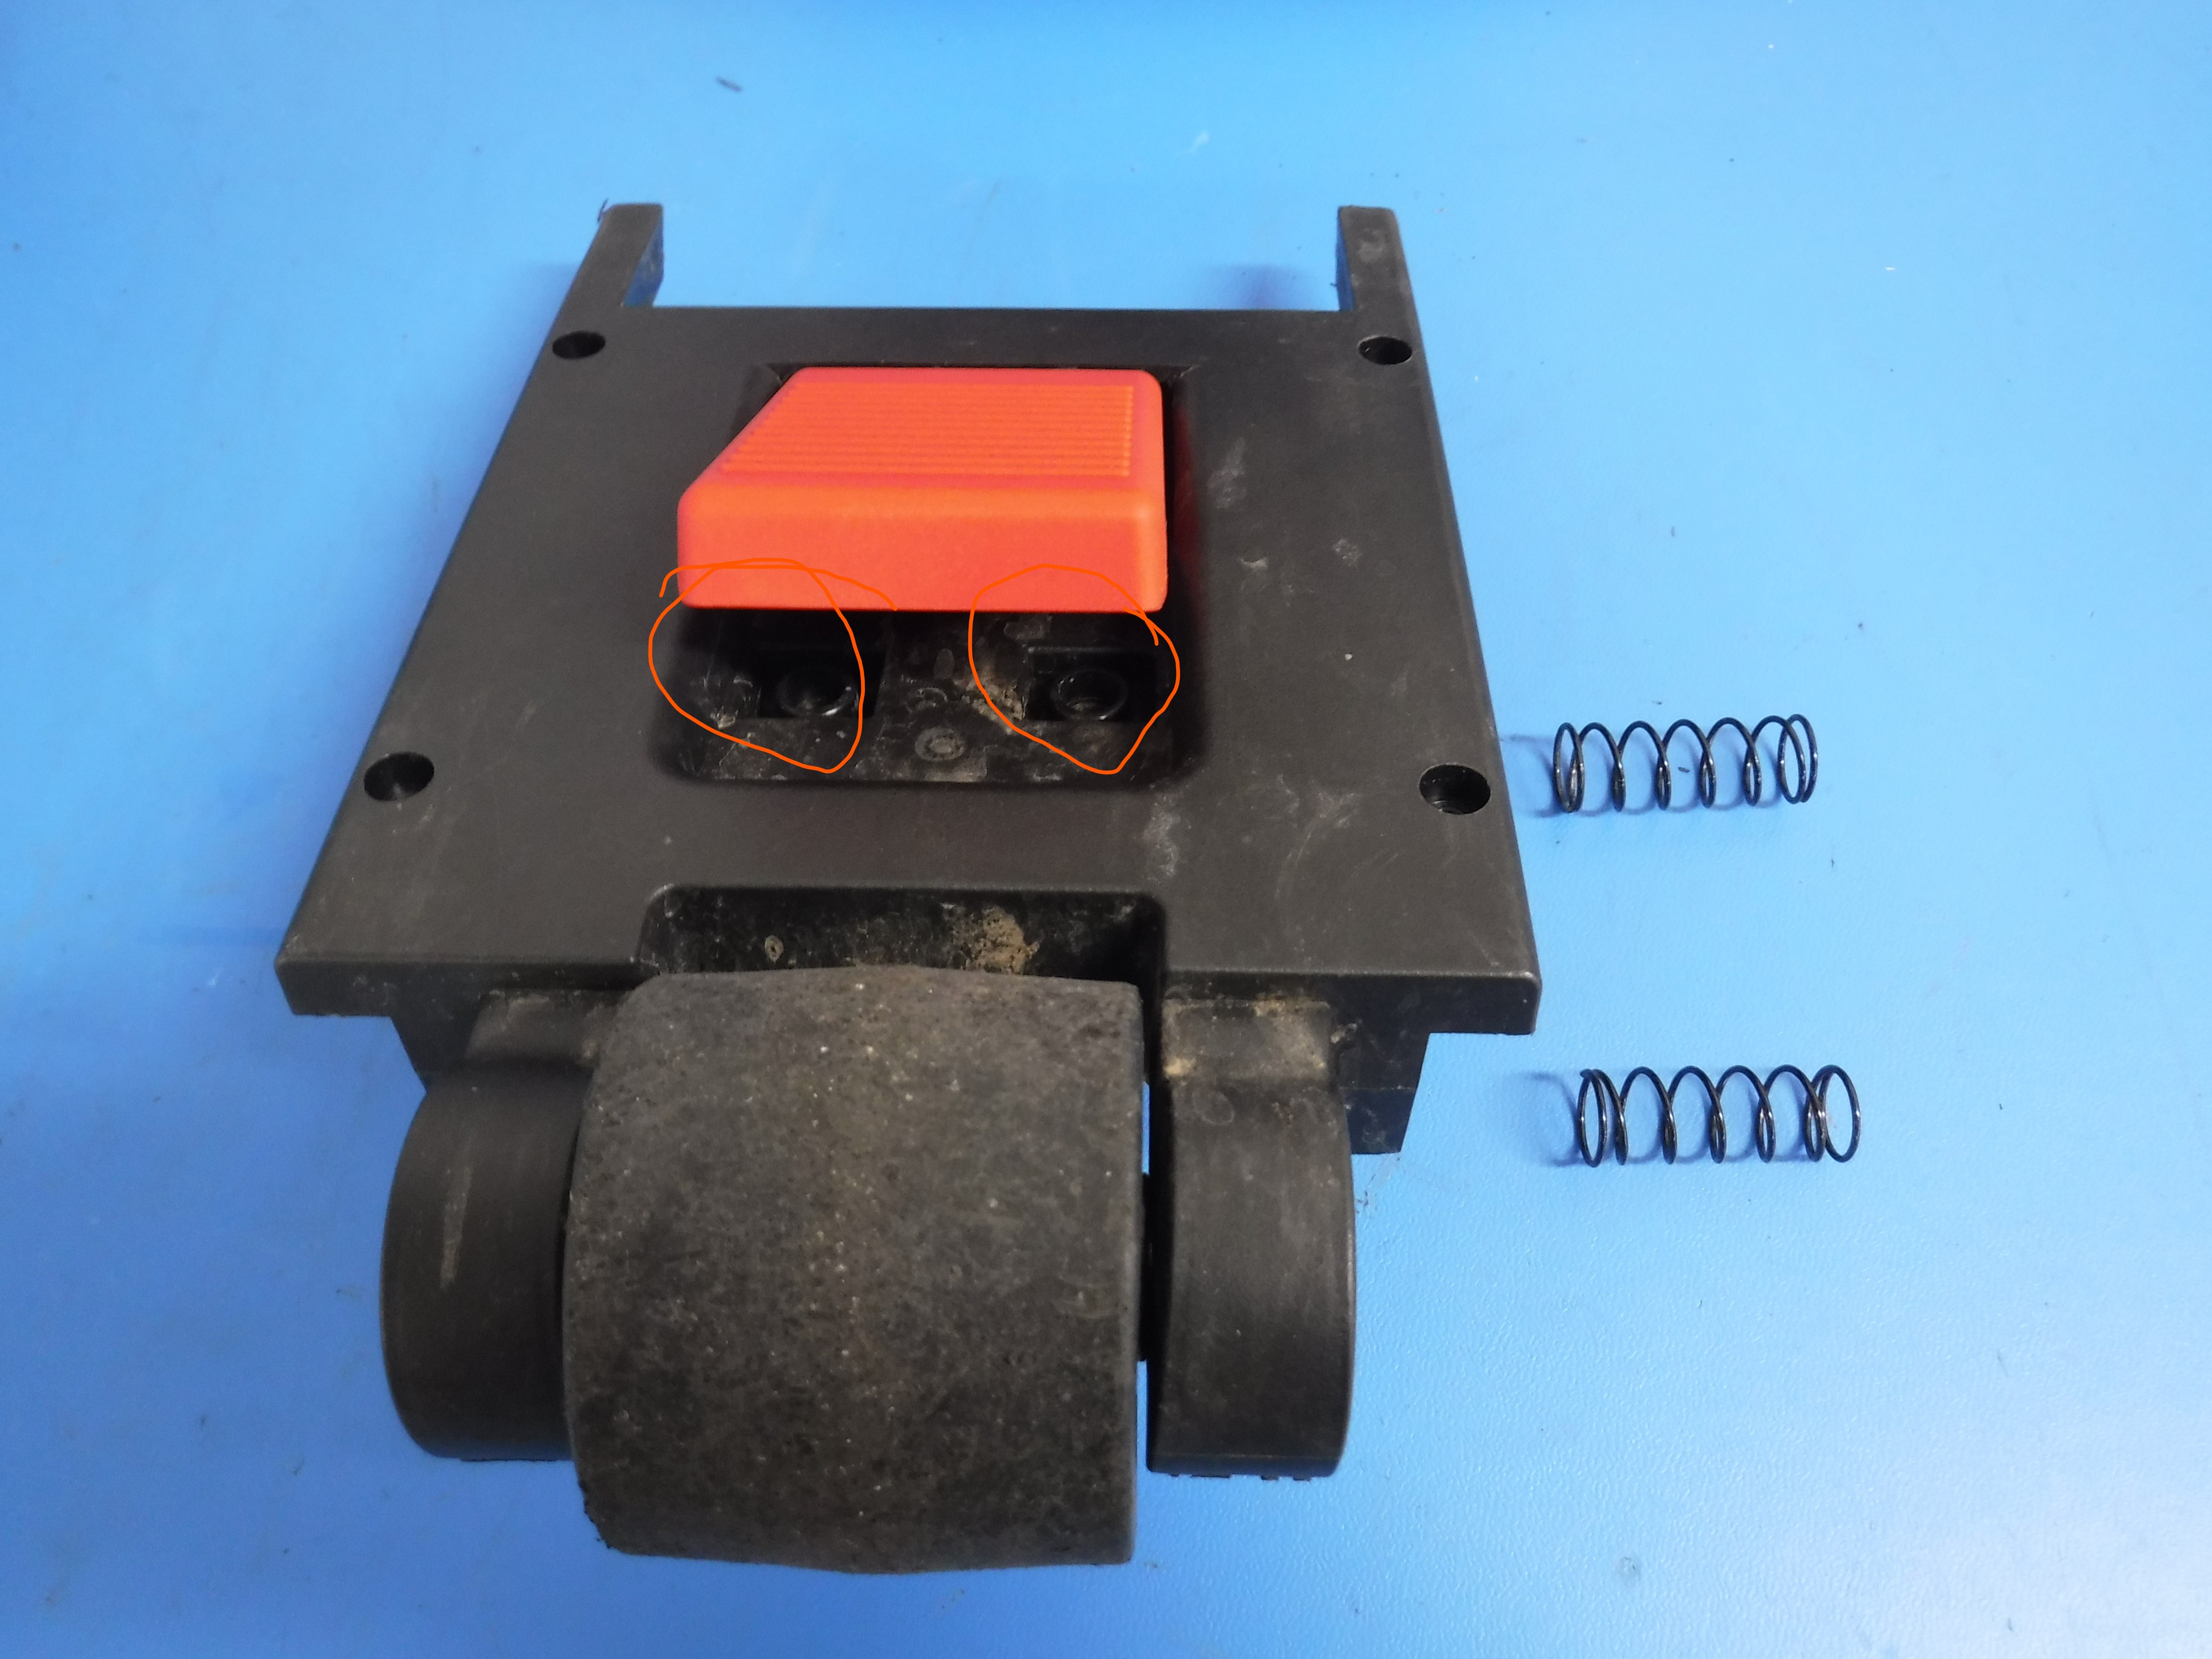
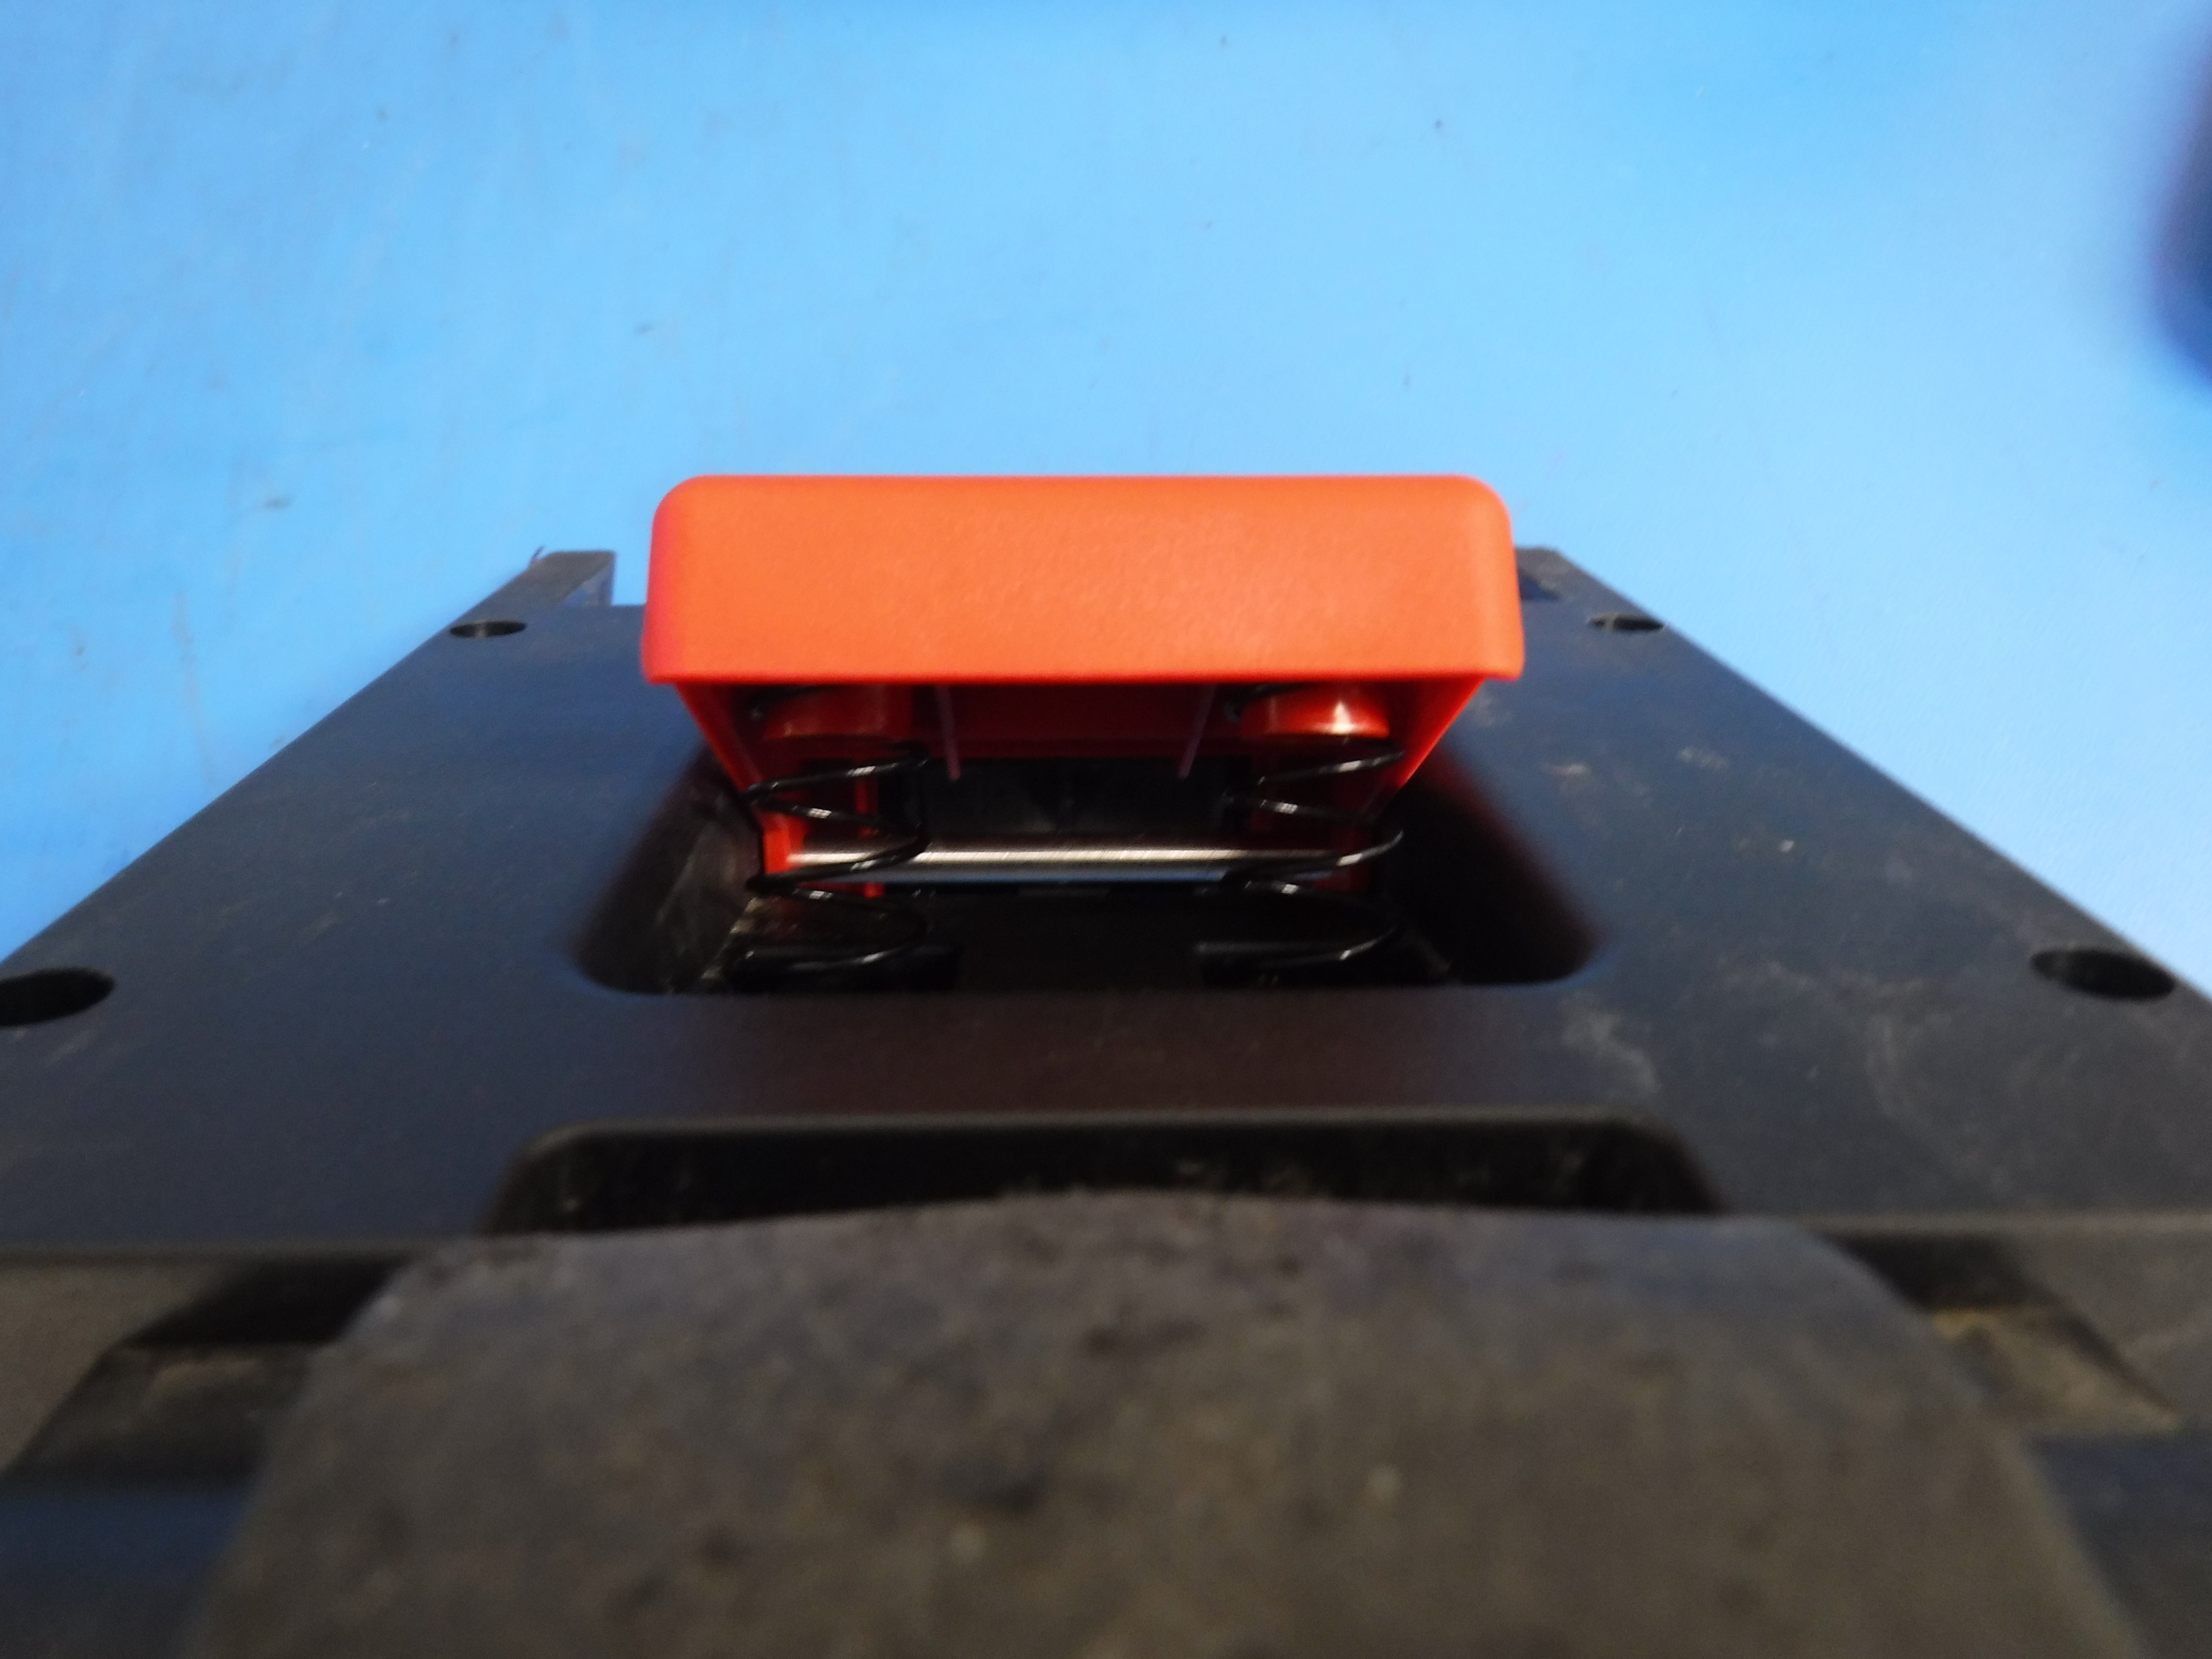
Locate the spring pockets and place the spring in the bottom of the pocket as indicated and then compress the spring to seat it in the pocket of the foot pedal. Repeat this process for the other spring. See the image below.
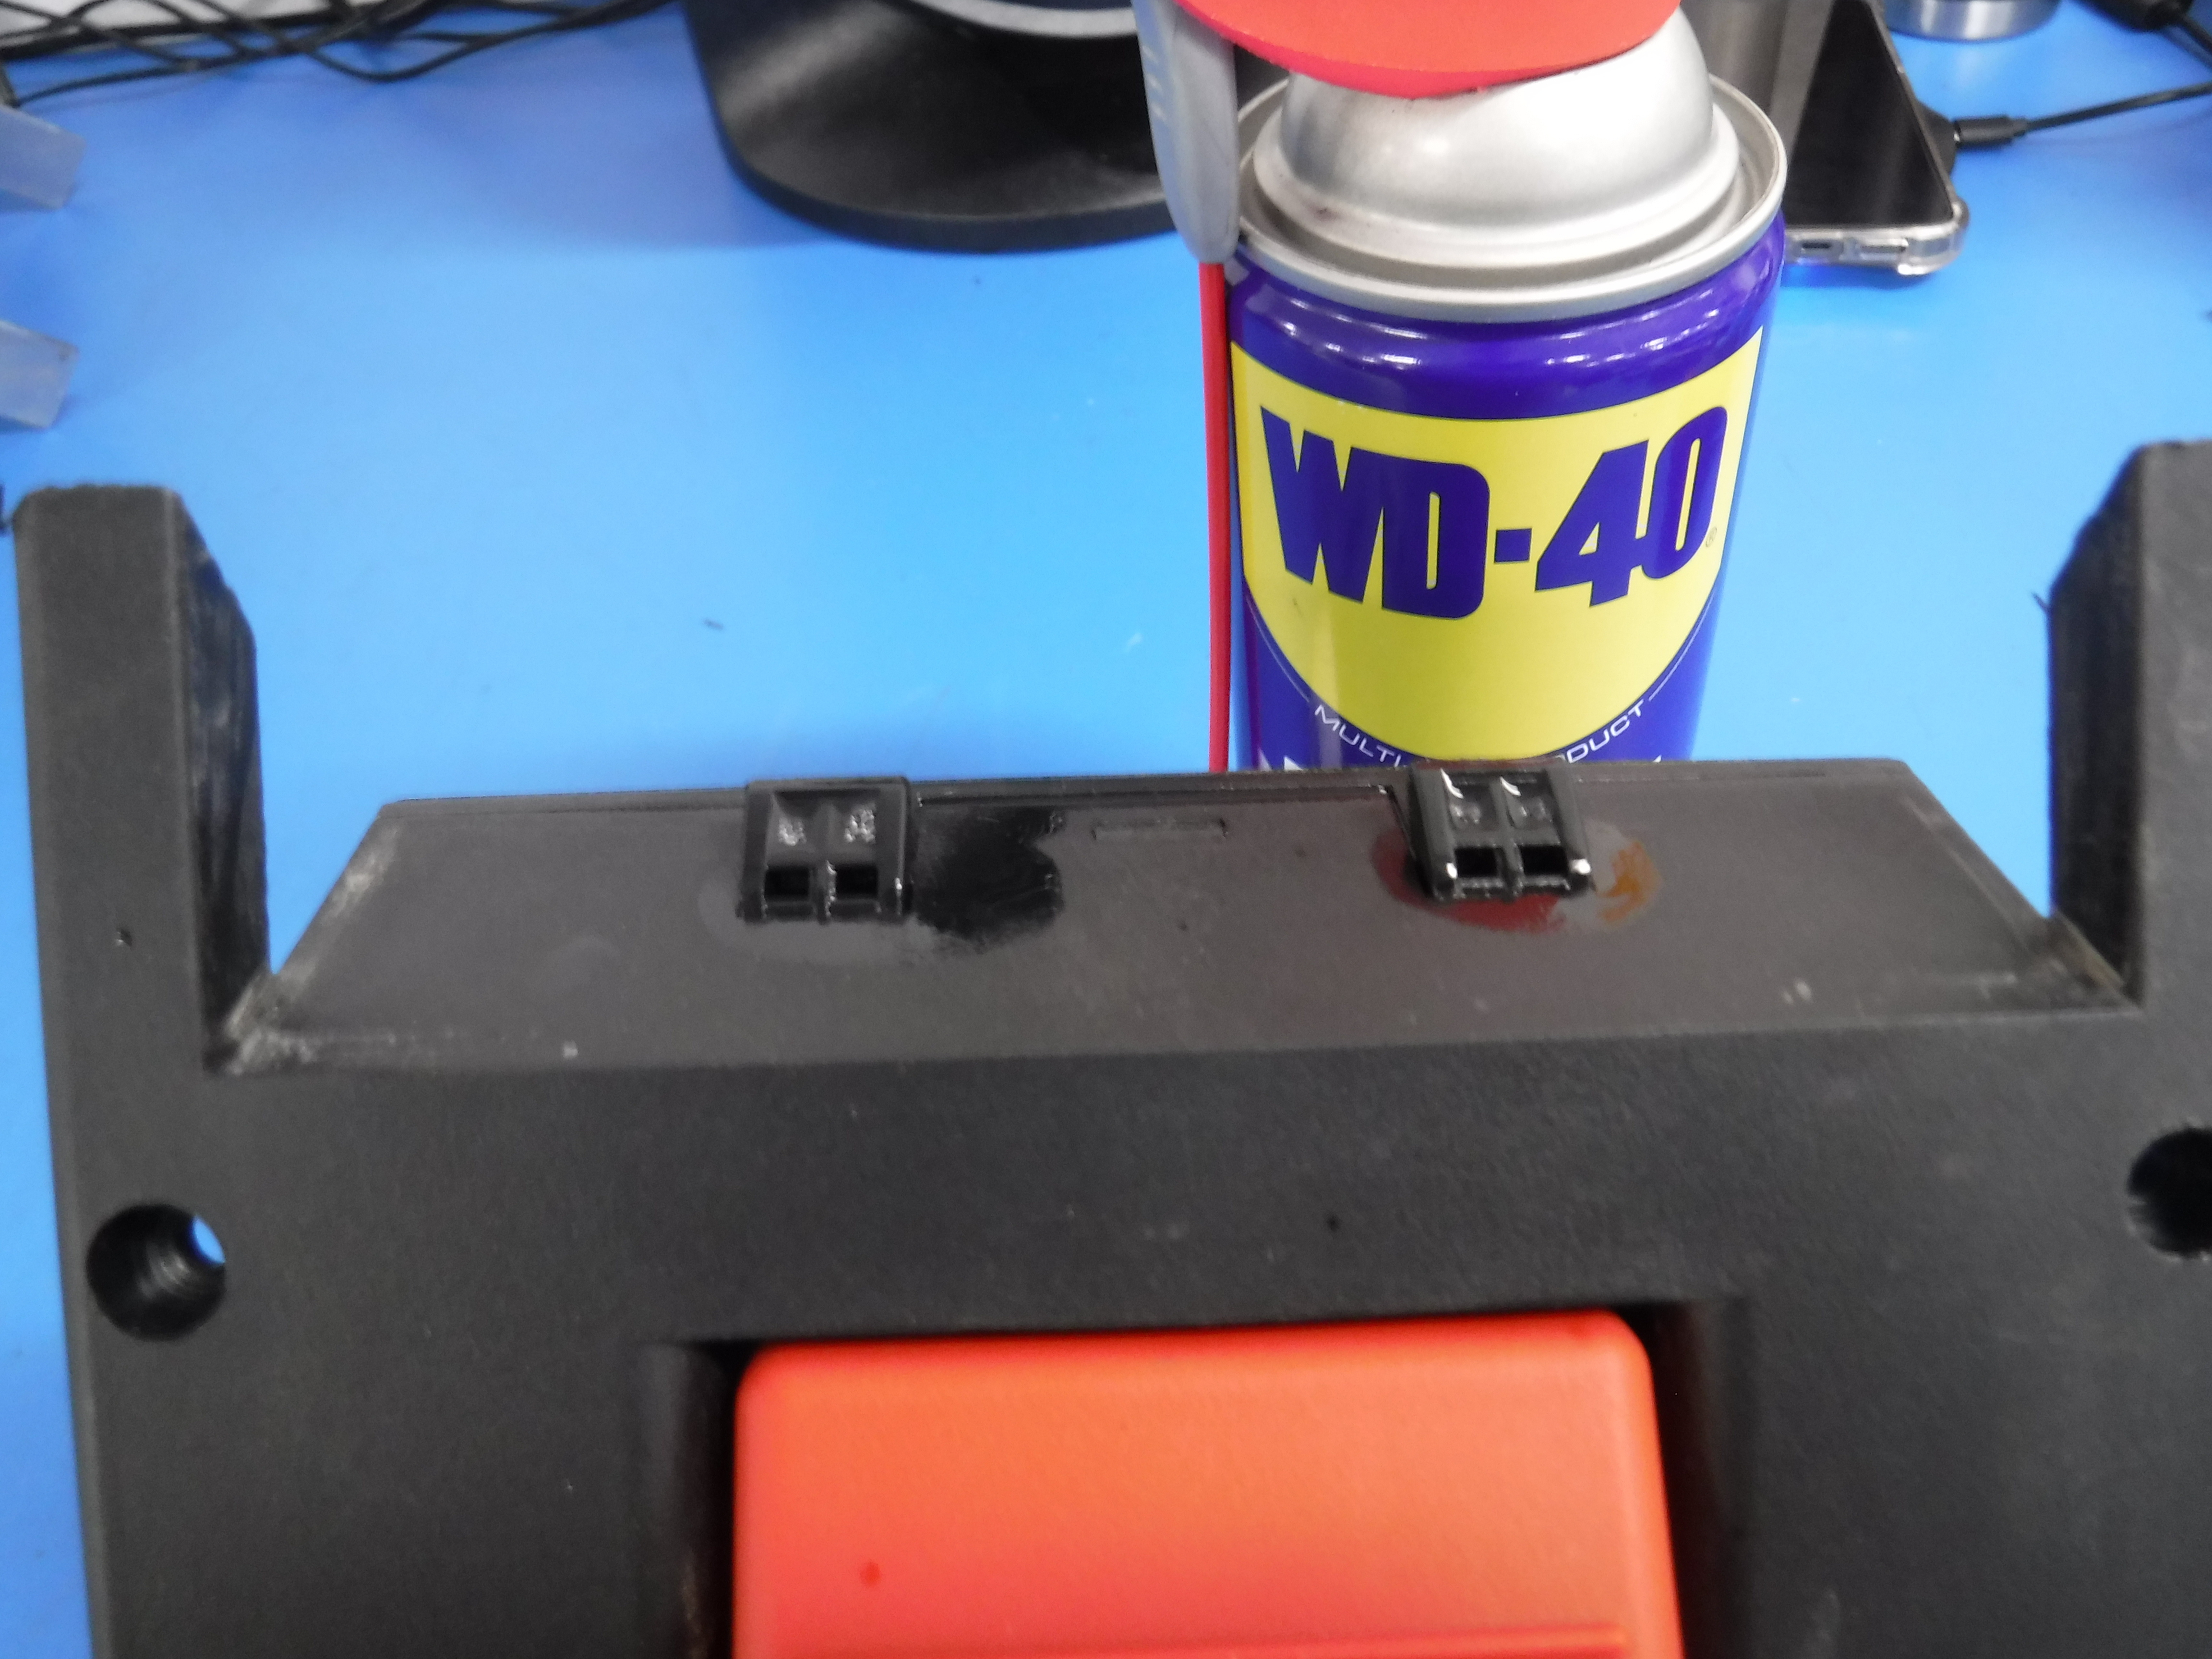
Before the final assembly, you should lubricate the two tabs with a spray of WD-40 or similar lubricant.
Now we are ready to reassemble the Forecaddy foot pedal assembly back on the cart. Locate the 4 hex hey 3 MM bolts with nuts in preparation for reassembly. Using the 3 MM hex key wrench and the 7 MM socket or open-ended wrench insert and the bolts and add the corresponding nuts to the bottom and tighten.
Locate the 4 plastic covers and replace them.
Your repair is complete. Thank you and please let us know if you have any questions. You can reach us at support@foresightsports.ca
Related Articles
Fixing An Unrecognized ForeCaddy Firmware Upgrade Tool
Fixing An Unrecognized ForeCaddy Firmware Upgrade Tool When launching the ForeCaddy Updater it is possible to run into the issue of the Firmware Upgrade Tool not being recognized. This is not related to a faulty Firmware Upgrade Tool, but a missing ...How To Update Your ForeCaddy Firmware
How To Update Your ForeCaddy Firmware In order to update the firmware for your ForeCaddy, please follow the steps listed in the guide below: ForeCaddy Updates GuideForecaddy - Reload the Assignment of the Remote Control to the ForeCaddy Cart
To reload the assignment of the Remote Control to the ForeCaddy cart you should do the following: NOTICE: Your Remote should buzz slightly when connected correctly, indicating it is seen by your computer. If this does not occur please attempt this ...Launch Pro Specifications
Specifications: Battery Life: 5-7 Hours Dimensions: 6"L x 6.2"W x 12"H Interfaces: USB-C / Ethernet / WiFi Ball Data Collected: Included On Device: Carry Distance, Ball Speed, Total Spin, Launch Angle (Vertical), Horizontal Launch Angle, Spin Tilt ...Adjusting The Center Hitting Line
To proceed, locate a 20 foot tape measure and proceed with the following: 1. With your software closed, locate the search box in the bottom left hand corner of your Windows Desktop. 2. Type the word "roomconfig" into the search box. If this is not ...